
Turn Your Illustrations into Print Products
Turning your artwork into physical products — like prints, stickers, notebooks, or apparel — is both creatively satisfying and financially rewarding. But it’s more than just uploading a file and clicking "Print.
Here’s a deep dive into making your illustrations shine in the physical world.
Step 1: Prepare Your Artwork for Print
Prints require higher-quality files than digital sharing:
-
Resolution: Artwork must be 300 DPI (dots per inch) for clear, professional prints.
-
Color Mode: Work in CMYK color mode, not RGB, since printers read CMYK values.
-
File Types: Save files as high-res PDFs, TIFFs, or PNGs depending on the product and printer specs.
Action to consider:
Always create a version of your file where you expand text and flatten layers for print.
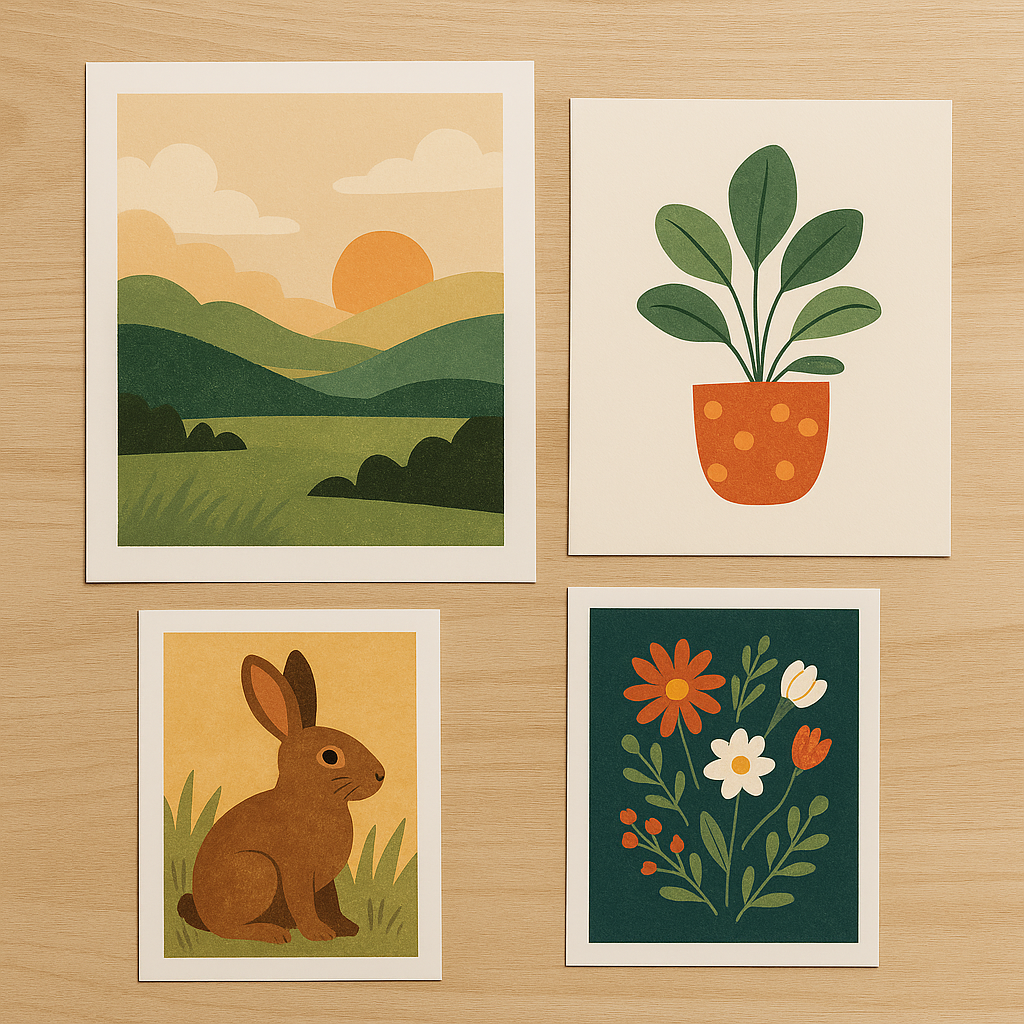
Step 2: Choose the Right Print Products
Think about what suits your art style:
-
Fine Art Prints: Best for detailed, high-end illustration work.
-
Stickers: Great for bold, graphic illustrations with clean lines.
-
Notebooks, Mugs, Apparel: Versatile and widely appealing if your designs are flexible.
-
Zines or Mini Art Books: Perfect if you love storytelling and want to curate a series.
Action to consider:
Start small. One or two products at first — and expand based on demand.
Step 3: Find the Right Production Partner
You have two main choices:
-
Print-on-Demand Services (like Redbubble, Society6, Printful):
Low upfront cost, but lower profit margins. -
Local Printers or Self-Production:
Higher control and potentially better margins but requires an upfront investment and storage.
Action to consider:
Always order test samples before selling to check color accuracy and quality!
Step 4: Consider Packaging and Presentation
Presentation matters. Even a simple print feels more premium when:
-
Packaged in a protective sleeve with a backing board.
-
Branded with a small thank-you note or custom sticker.
Action to consider:
Create a basic branding kit: logo, sticker design, and thank-you card templates.
Step 5: Pricing Your Work
A simple formula:
-
Cost of Production + Time/Skill Factor + Markup for Profit
Research similar products to make sure your pricing is competitive but fair to you.
Example:
If printing a 5"x7" print costs £1.50, factor in your time, and aim to sell it around £8–£12 depending on your brand.
Step 6: Marketing Your Print Products
-
Launch Teasers: Show sneak peeks of upcoming products.
-
Behind-the-Scenes: Share packaging prep, unboxing experiences, or test prints.
-
Shop Announcements: Use Instagram, TikTok, Pinterest, and your blog to direct traffic to your store.
Action to consider:
Offer a limited edition first run — scarcity creates excitement!
Diagram Concept: "Understanding Bleed, Trim, and Safe Zones"
Imagine a rectangle representing a printed postcard or art print.
The rectangle would have three nested areas, each labeled and colored lightly for clarity:
Outer Edge: Bleed Area
-
Color: Light red border (faint but visible)
-
Label: "Bleed Area (extends beyond trim line)"
-
Explanation: This area ensures that when the product is trimmed, no accidental white borders appear. Your background color or artwork should extend fully into this zone.
Middle Edge: Trim Line
-
Color: Solid black line just inside the bleed
-
Label: "Trim Line (final cut size)"
-
Explanation: This is where the printer cuts the final product. Anything outside this line gets trimmed away.
Inner Area: Safe Zone
-
Color: Light green area inside the trim line
-
Label: "Safe Zone (important content here)"
-
Explanation: Keep all critical elements like text, logos, or important details inside this area.
Margins typically are 3–5mm inside the trim line to prevent accidental cutting into the main design.

Final Thoughts
Turning your illustrations into print products lets you expand creatively and grow your business.
Start small, refine your process, and always put quality first — the right customers will notice.
If you prefer a more 'hands-on' approach to printing your own illustrations, you'll find hundreds of ideas on Amazon, here (As an Amazon associate, I earn from qualifying purchases).
Leave a Comment
I hope you enjoyed this post. If you would like to, please leave a comment below.